
How I Ditched Substance Painter
Sun Nov 16
Like a lot of us, I’m kinda over Adobe. Have been for a long time. Then they went and bought Allegorithmic and all of us who were relying on Substance had to sigh and return to the fold. While it’s excellent software, it’s not the only game out there.
I’ve been hearing a lot of buzz about the free Blender plugin ucupaint over the last year. I’m the kind of person who enjoys tinkering with new software, so I gave it a shot. The learning process has been really encouraging. The workflow is familiar to Substance Painter, and it brings some of its own benefits to the table.
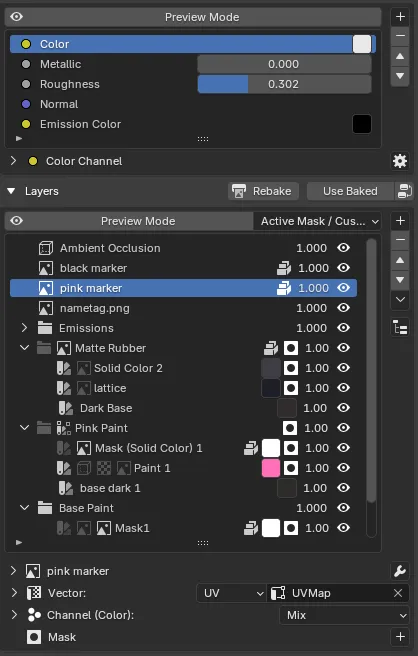
The magic of ucupaint is that it’s hiding complex material node manipulation behind this side panel. We can add layers, masks, and groups and it will do the wiring for us. You can make a new fill layer, give it a procedural mask, add a painted mask on top to refine it, and just keep going.
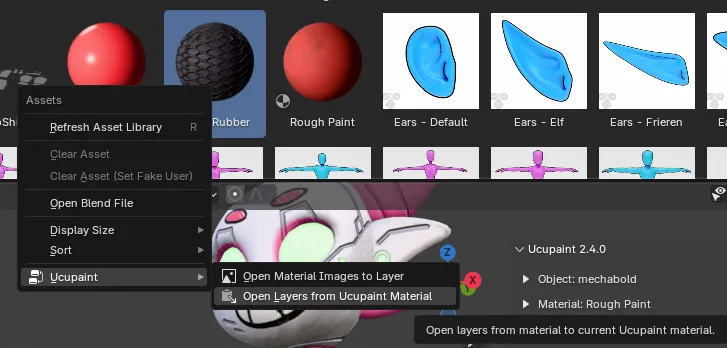
If we make a material that’s entirely procedural we can save it as a smart material using Blender’s asset system. In the latest update we gained the ability to right click on a ucupaint material in the asset browser and insert it into the layer stack easily.
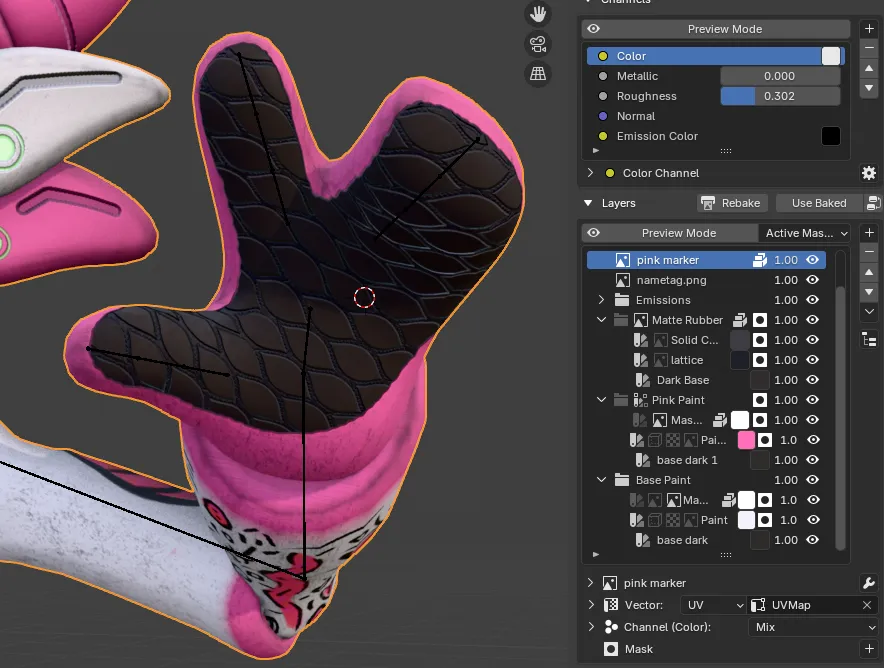
Those layer groups can then be masked like any other ucupaint layer to mix them. In this screenshot the white material is the base layer. The black rubber is being masked by a painted texture mask.
The pink layer is where we see one of the first advantages of working inside Blender. It’s being masked by color attributes (vertex colors.) To use these in Substance, we need to assign them ahead of time, export the model, then bake them to an ID map. Since we’re doing all of this in Blender, we can edit color attribute masks by dropping into Vertex Paint mode and editing them on the fly.
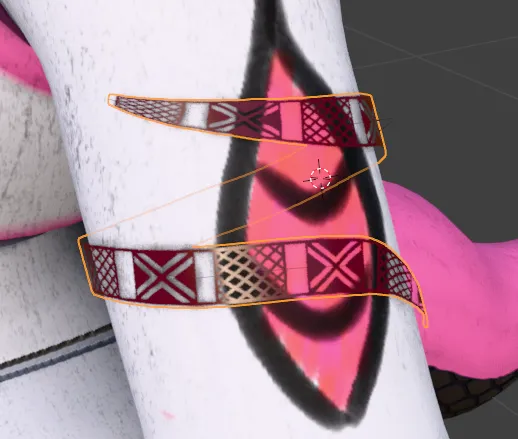
You can also use Blender’s geometry masking to control your painting. Drop into edit mode, use any of your normal selection tools to pick some faces, then turn on masking in Texture Paint mode. I find this a lot more powerful than Substance’s face/island/object fill tool.
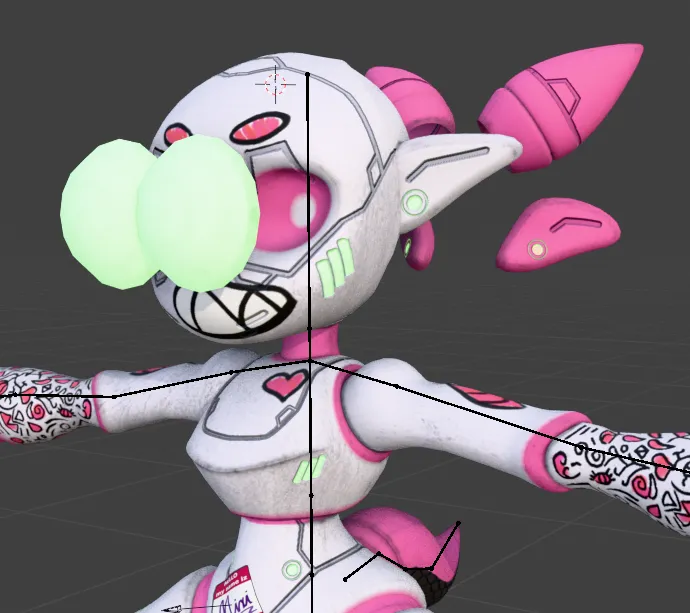
As you may have noticed, the armature still works while painting in Blender. The shape keys do as well, making it easy to go back and forth from exploded to unexploded views while working. You can move and twist your armature as you work to check how your texture deforms, or to give yourself better access to difficult parts.
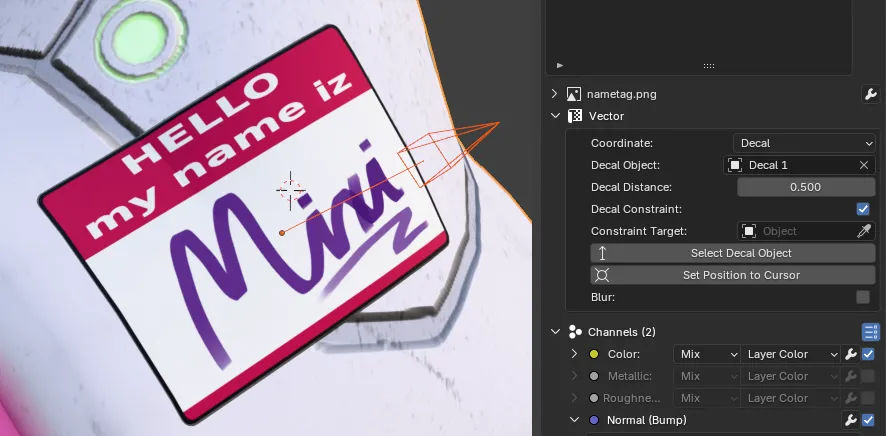
Not every Substance Painter feature is here, but a nice one that was just added in 2.4 is this decal projector. You can assign a decal to a mesh, then grab, rotate, and scale the gizmo to position the projected layers.
The major feature that is missing for me is Substance Painter’s surface-snapping curve brush. At the moment I’ve found baking curve geometry to masks to be an acceptable workaround. An addon that helps with this workflow is Trimflow. This is a paid addon, but it enables you to create surface-snapping texture curves easily and then bake them to masks. The caveat here is that you’re baking, so that means dealing with ray misses and errors around UV seams that may need cleanup.
Once you’re happy with your texture, ucupaint has a simple to use baking option. It will output your configured channels to their own textures. You can also configure your own bake targets, which is great to create channel packed maps. Custom channels can be configured for things like emission or even maps that don’t connect directly to the Blender shader at all.
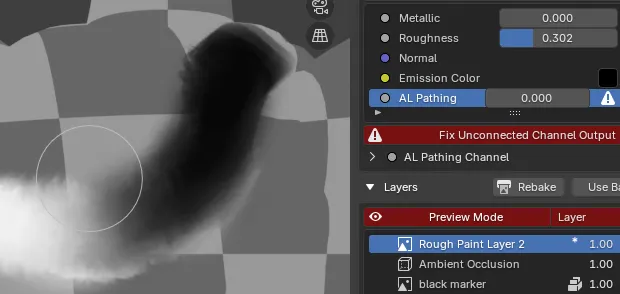
For instance, I make VRChat avatars and frequently use Poiyomi’s pathing tool. This is driven by a gradient mask that doesn’t directly affect PBR shader attributes. I create an unconnected channel in ucupaint, temporarily enable the color channel, paint the gradients, then export it for use in Unity. ucupaint will complain about the disconnected channel, but if you know what you’re doing you can ignore it.
The big, obvious limitation for most people is that you can’t open Substance Painter project files in Blender. If you’re an end user of an asset who just wants to make an edit to an existing project, you still need Substance. If you’re creating from scratch, this is an amazing tool that’s free and Linux-friendly.
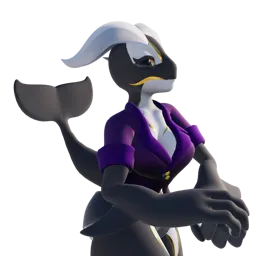
I really enjoyed making this character entirely in Blender and will be making this my primary workflow from now on. There’s a reason I’m posting this on an indie web hosted page. Like a lot of us, I’m very tired of the state of tech, and getting away from the bigger corporation’s products is part of that. Switching to a complete Blender workflow dovetails nicely with this change of pace.